It can appear overwhelming to decorate cookies, let’s admit it. You are aware, all those complex designs you see on Instagram or Pinterest? Yes, it is beautiful. But achieving them on your own? Until today, that’s a different story.
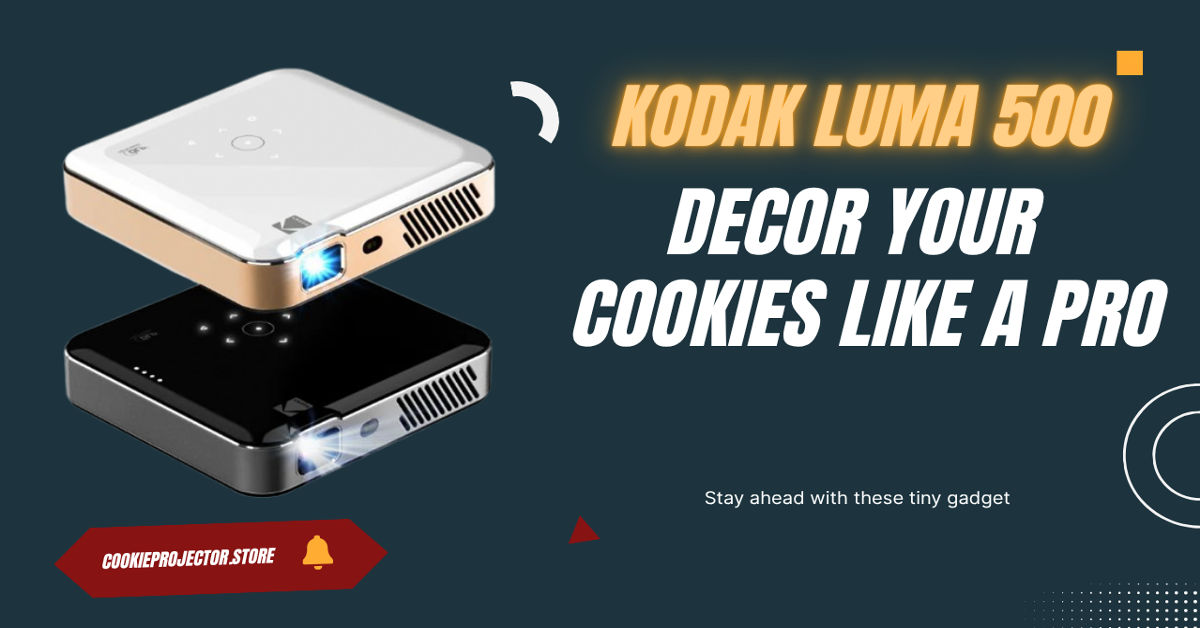
I’d like to introduce you to the Kodak Luma 500 tiny projector, your new favourite baking equipment if you’ve ever had trouble with unsteady lines, uneven letters, or simply figuring out where to start. This small device is rapidly turning into a hidden tool for bakers worldwide, and it’s not just for movies and presentations. And believe me, it completely changes the game.
So… What Makes the Kodak Luma 500 So Special?

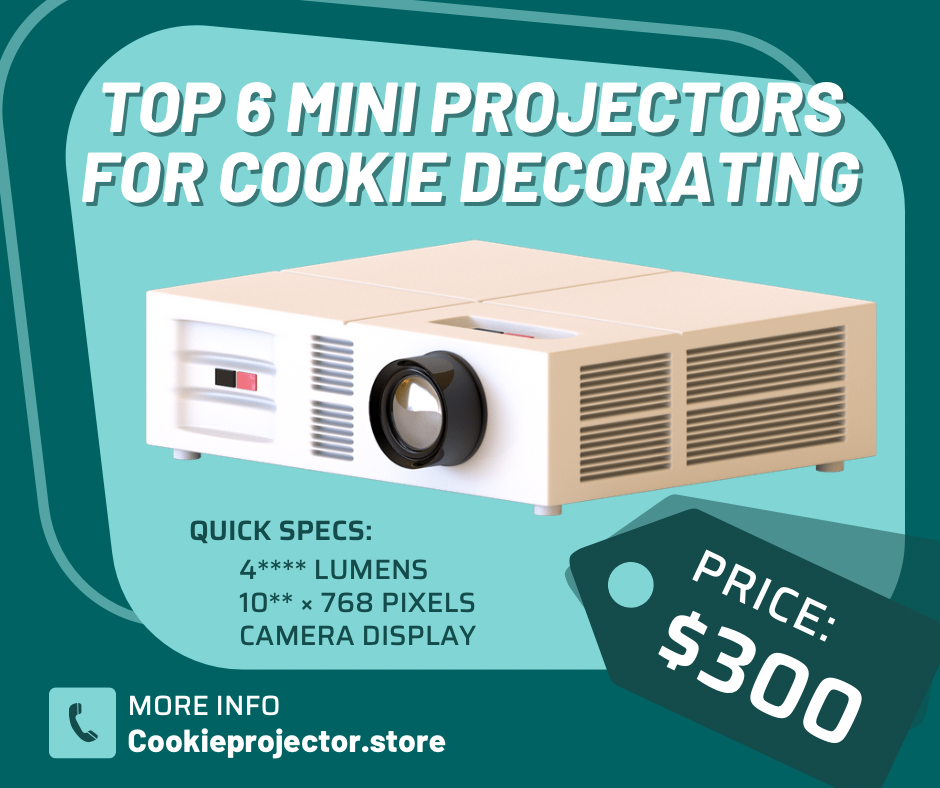
- Full HD Movie Projector: Experience cinematic quality at home with our Full HD movie projector. This compact small proje…
- Versatile Small Projector: This small projector is a powerhouse of connectivity. With Wi-Fi, Bluetooth, HDMI, and USB co…
- Mini Projector for iPhone: Our mini projector for iPhone offers seamless streaming with built-in Chromecast. It’s a mini…
The Kodak Luma 500 is a pocket-sized, high-definition projector. It fits in the palm of your hand, yet it can project bright, sharp images right onto your cookies (or any flat surface). It connects wirelessly via AirPlay or Android casting, or you can plug in a USB or HDMI source.
And while Kodak definitely didn’t design it for cookie artists, bakers have figured out how to use it in a seriously brilliant way.
Why Use a Projector for Cookie Decorating?
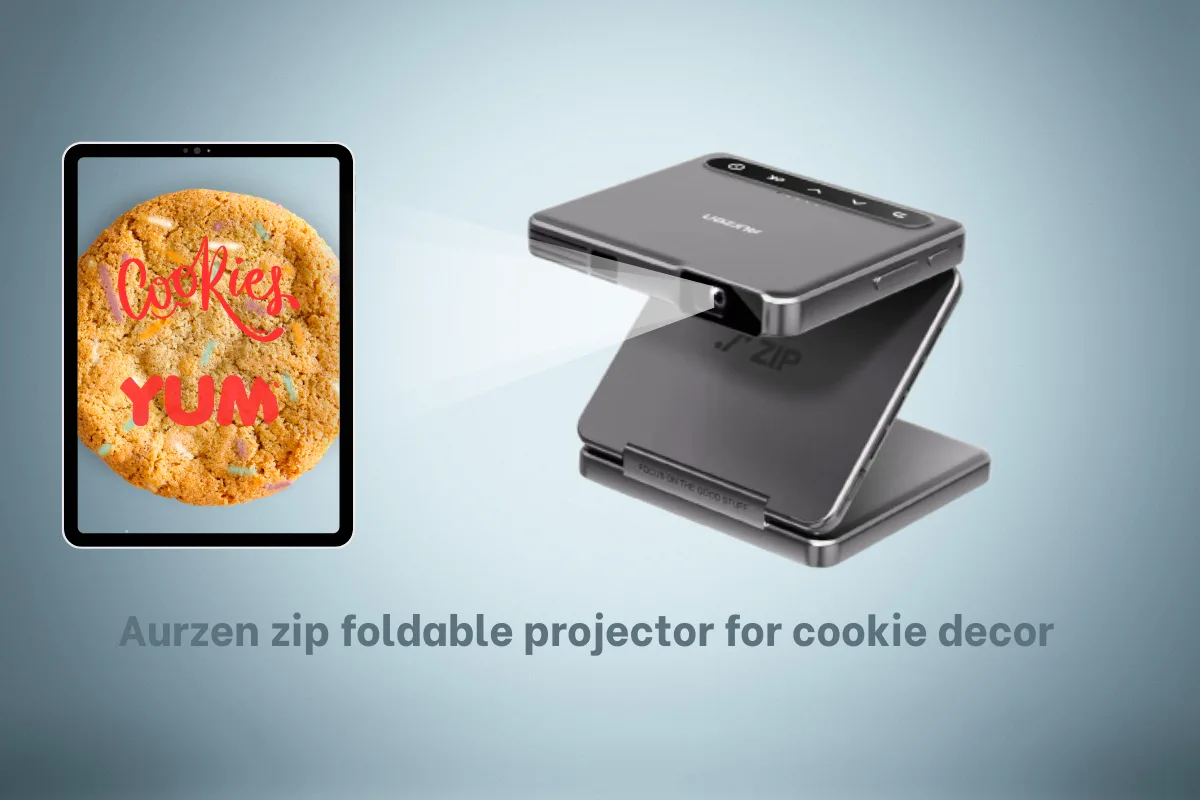
We have many articles on our websites; that’s why I always choose a projector for cookie decorating. Using a projector like the Kodak Luma 500 lets you project any design right onto your cookie, so you can trace over it with icing or edible markers. Think of it like a cheat code for decorators.
Instead of trying to freehand a complicated logo or cartoon character, you just:
- Pick your design.
- Project it onto your cookie.
- Trace it.
- Done!
It’s perfect for lettering, logos, florals, characters—anything that requires precision. Beginners love it because it takes the pressure off. Pros love it because it saves time.
How to Set Up the Kodak Luma 500 for Cookies
Getting started is easier than you’d think. Here’s a quick step-by-step:
Place the Luma 500 on a tripod or stand – Position it directly above your work area. A flexible phone tripod works great.
- Start your design. Select a design, logo or image with a lot of contrast and sharpness. Black and white designs are more effective.
- Adjust the brightness and focus. For a clear picture, set the focus knob on the kodak luma and make that room slightly darker.
- Connect your device: Project your design using your laptop, tablet, or phone. You can use an HDMI cable or wireless devices to achieve this.
- Align your cookie by placing it down for projection. make sure that the design aligns precisely where you want it to.
- Simply make an outline step by step with royal icing or trace with your edible marker, and you’re ready! Perfect cookies.
Tips for the Best Results
- Stabilise your projector – Use a sturdy tripod or projector stand to avoid movement.
- Use parchment for practice – Practice tracing your design on paper first.
- Zoom in on details – You can crop or zoom on your device to enlarge parts of the design.
- Keep icing consistent – Use medium-stiff royal icing for clean lines.