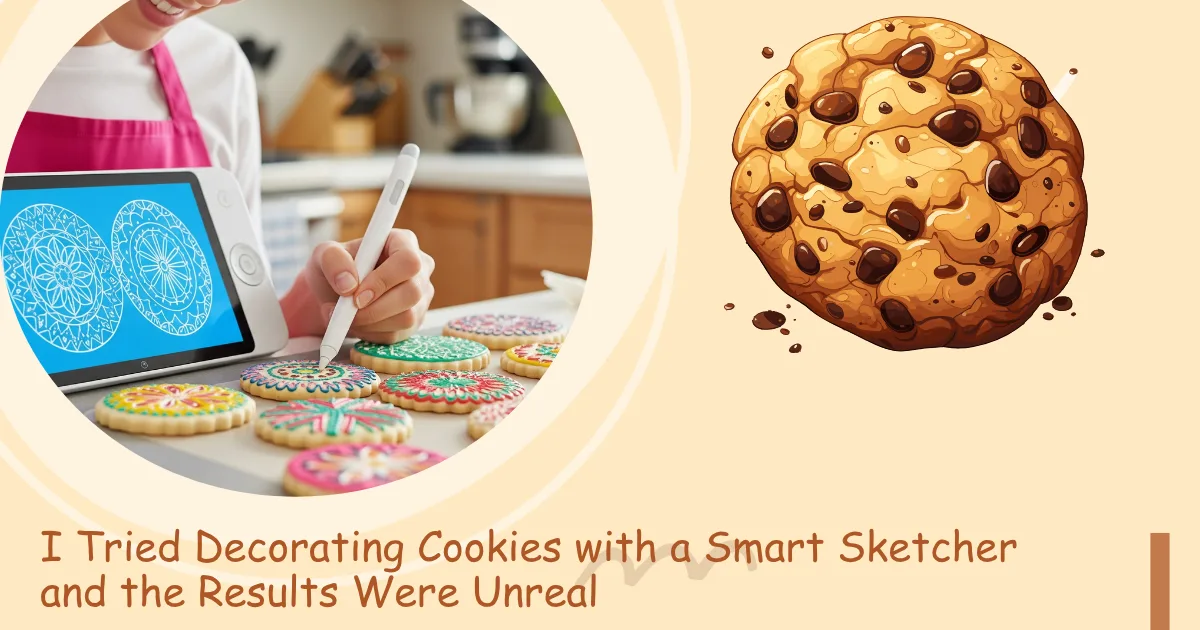
If you’ve ever spent hours trying to pipe intricate cookie designs, only to end up with a shaky mess and frosting in your hair (just me?), you know how frustratingly fun cookie decorating can be. I’m not a professional baker — just a home kitchen enthusiast who loves making cute treats for birthdays , holidays, and the occasional Tuesday via smart sketcher.
So when I heard someone mention using the Smart Sketcher Projector — a kids’ drawing toy — to help with cookie decorating, I was skeptical but intrigued. A toy? For cookies? But let me tell you: this little gadget completely changed the way I decorate, and the results honestly blew me away.
🎨 What Is the Smart Sketcher Projector?
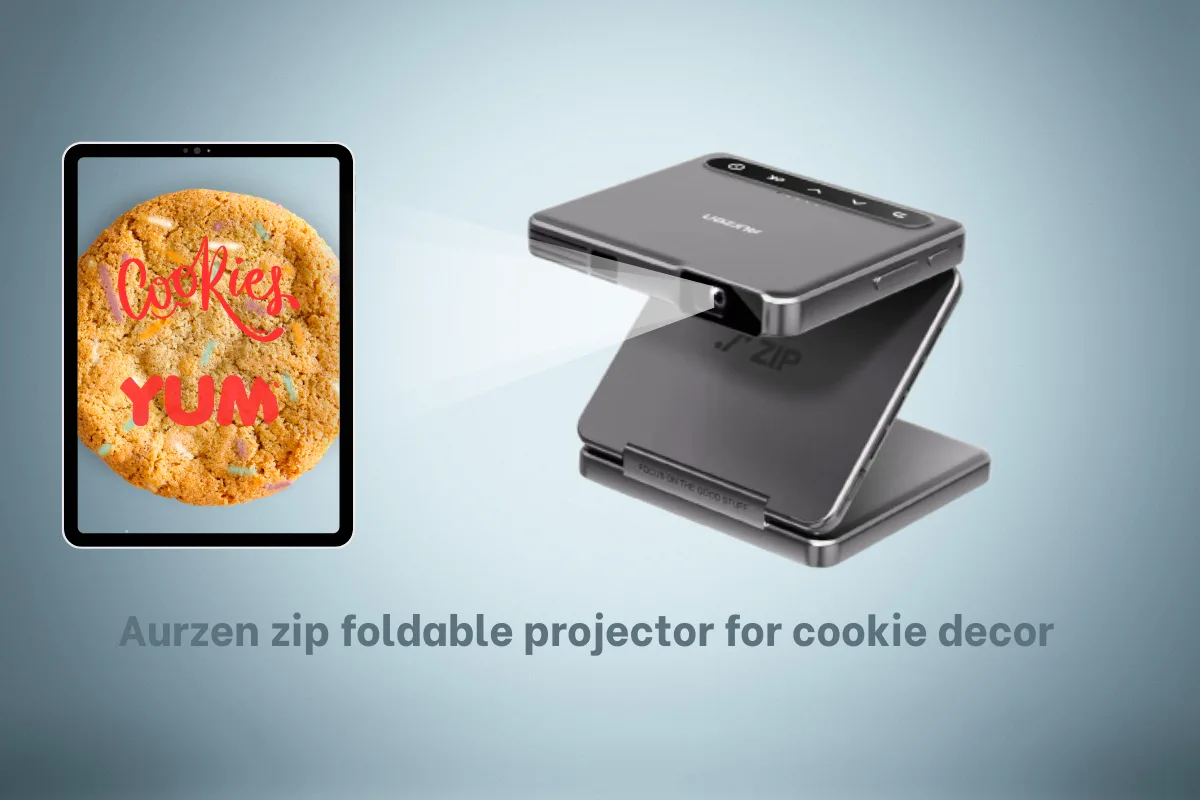
Originally marketed as an educational toy for kids, the Smart Sketcher Projector lets you project any image onto paper — or in our case, a cookie — so you can trace it. You can upload your own photos through an app or use preloaded drawing content.
I thought, “If this can help a six-year-old draw a cat, maybe it can help me pipe one on a sugar cookie.”
🧁 How I Set It Up for Cookies
Now, this wasn’t quite “plug and play.” You do need to get a little creative to adapt it from a drawing tool to a decorating tool. Here’s what I used:
🛒 Tools I Used:

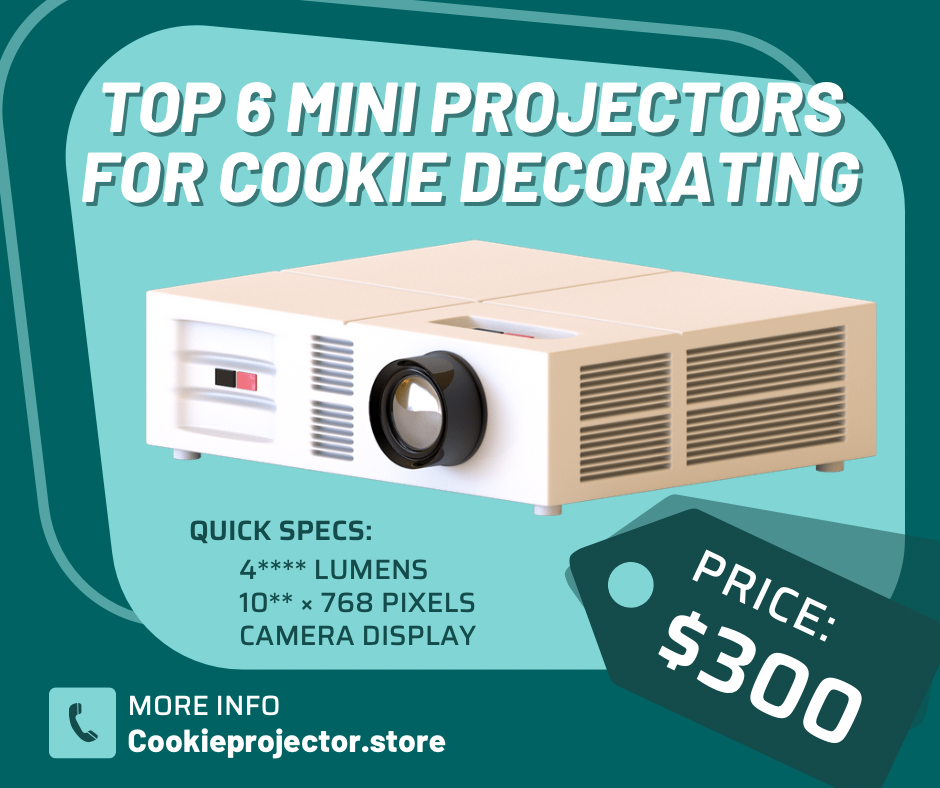
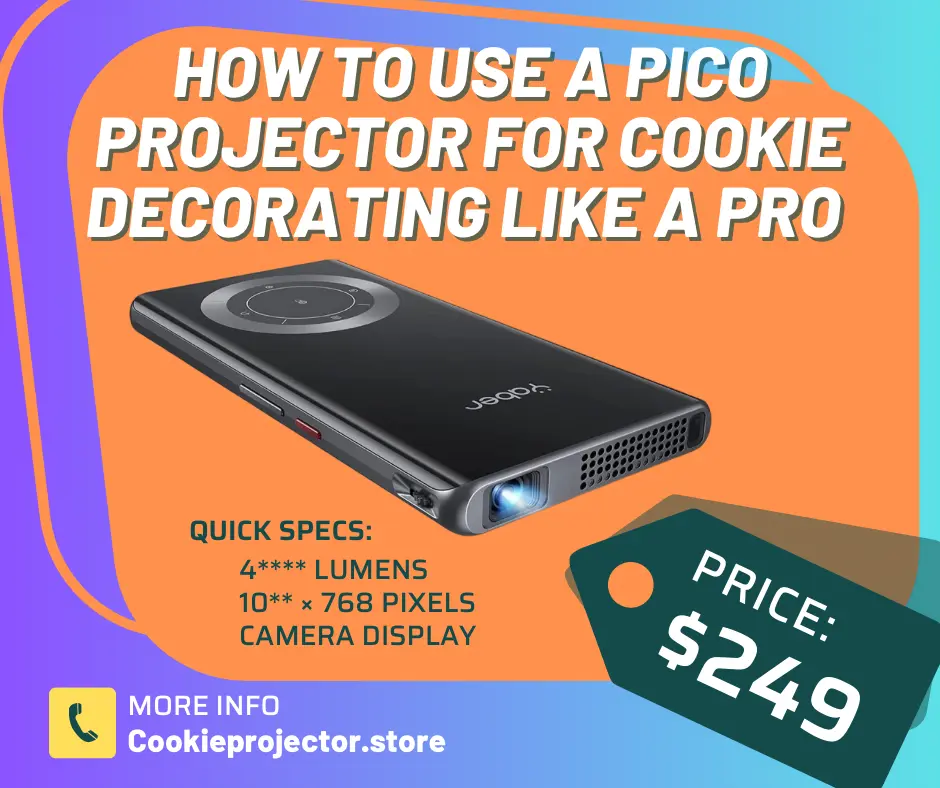
- Super Portable Projector: With a compact (5.713.150.79 inches) and lightweight (0.64lbs) design, this projector can be e…
- Clear and Bright Projection: Using advanced DLP (0.2DMD Optically processed chip) projection technology, the image produ…
- Multiple Connectivity Options: It supports various wireless screen mirroring options, allowing smartphones to connect vi…
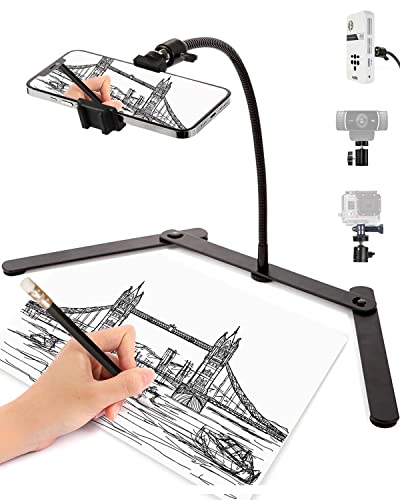
- Multifunctional: This tripod is with a 1/4 inch universal thread head, super wide compatibilities. Phone holder have an …
- Flexible placement: Phone tripod stand can be used for horizontal and vertical shooting, and can be moved freely on desk…
- Excellent design:Tripod for iphone is made with High-quality solid aluminum alloy structure,The trapezoidal support base…

- 【Safe and Edible】Food coloring markers are made with food grade edible ink that is extracted from pure, safe and harmles…
- 【Dual Tip Coloring Markers】Food coloring pens feature both wide and thin tip which will bring much more fun to your vari…
- 【12Pcs – 10 Colors Set】10 Vivid colors to choose from, including green, dark red, purple, light green, blue, pink, orang…

- Riccle Piping Bags and Tips Set, 11.8 Inch 100 Anti Burst Piping Bags, 124 Pcs Cake Decorating Kit with 16 Piping Tips, …
- Riccle Frosting Piping Kit includes 100 x piping bags disposable, 1 x silicone pastry bag, 16 x stainless steel frosting…
- Premium Cake Decorating Supplies for Lasting Elegance: Our durable and reusable piping bags piping bags, along with our …

- Package includes: 4pcs Cookie Icing Pin, Total length: 5.2 inches, Plastic handle: 3.2 inches
- The sugar stir needle will help you exert your imagation and creation when cooking, baking, great biscuit making pin
- You can use it to stir the syrup, draw the outline of cake shape, let cake finer

- Individually Wrapped 3oz Cookie (8 Count)
- Soft and Pre-Baked
- Made in the USA
I positioned the projector on a box and used an adjustable stand to angle it just right. You want the image to land directly on the top of the cookie — not warped or off-center. A darkened room helps the projection really pop.
✍️ Guide to Tracing and Decorating — Step by Step
- Pick Your Image: I uploaded a simple face design using the canva app, you can use any other app you prefer . but Black-and-white line drawings work best.
- Project It: I placed a blank and soft baked cookie underneath the image projection.
- Trace with Edible Marker: I used an edible ink pen to outline the design right onto the icing. It felt like cheating, in the best way.
- Fill and Pipe: I filled in the lines with colored royal icing using my above given pipe.
- Finishing Touches: I used that scribe tool to smooth out the icing and add tiny details with precise hand held skill.
📸 The Results: Before & After
Let’s just say, I’m not posting my “before” cookies on Instagram.
The “after” cookies? Picture-perfect. Clean lines, cute details, and symmetry that I’ve never been able to achieve freehand.
And it didn’t just look better — it saved me time. Tracing a design is way faster than sketching it from memory or reference.
Pro tip: Start with bold, simple images. Think cartoon-style outlines rather than intricate florals — the cleaner the design, the better the results
😲 What Surprised Me the Most
I genuinely didn’t expect the projector to be this accurate on a 3D surface like a cookie. But as long as your icing is smooth and the cookie is relatively flat, it works beautifully.
Also? It’s fun. Like, weirdly fun. I ended up making a dozen cookies with different animal faces and spent the evening piping in total zen.
👩🍳 Who This Hack Is Perfect For
- Busy moms making party favors
- Home bakers selling custom cookies
- Total beginners trying to avoid Pinterest fails
- Anyone decorating cookies with kids (they’ll LOVE this)
If you’ve struggled with cookie decorating or just want to take your designs up a notch without investing in a projector that costs hundreds — this is the hack.
⭐ Final Thoughts: Would I Use It Again?
without think about if it fails. The Smart Sketcher is now part of my regular cookie decor setup. It’s not just for kids but for elders too where i can enjoy decorating— it’s a surprisingly effective, affordable way to get stunning results without hours of practice.